Introduction
Kitchen cabinet painting is a cost-effective and transformative way to revitalize your kitchen without needing a full remodel. You can save money and reduce waste by opting to paint instead of replace.
Whether you choose a DIY approach or hire professionals, understanding the process, from preparation and color selection to application techniques, is key to achieving lasting results. While professional services ensure high-quality finishes, DIY projects can save up to 70% on costs with proper tools and materials. Also worth reading: Blue French Bulldog.
Following essential steps like cleaning, priming, and applying multiple coats ensures durability, while regular maintenance keeps cabinets looking fresh. With trending colors like earthy greens and bold blues adding vibrancy to kitchens, cabinet painting offers endless opportunities for personalization.
| Aspect | Details |
|---|---|
| Preparation | Clean cabinets, remove hardware, and sand surfaces. |
| Tools Required | Paintbrushes, rollers, painter’s tape, sandpaper, primer, paint sprayer. |
| Types of Paint | Latex, oil-based, chalk paint, acrylic enamel. |
| Primer Usage | Essential for better adhesion and durability. |
| Steps Involved | Cleaning, sanding, priming, painting, and sealing. |
| Colour Choices | Neutral (white, grey), bold (navy, emerald green), or custom shades. |
| Finish Options | Matte, satin, semi-gloss, gloss. |
| Drying Time | Typically, 24-48 hours, depending on paint type and environmental factors. |
| Cost Estimation | DIY: $50-$200; Professional service: $1,000-$5,000. |
| Durability Tips | Use high-quality paint, proper primer, and apply a sealant or topcoat. |
| Challenges | Time-consuming, uneven application, paint chipping. |
| Benefits | Cost-effective update, customization, and improved aesthetics. |
Choosing the Right Approach for Painting Kitchen Cabinets
When planning a kitchen cabinet painting project, selecting the right preparation and application method can greatly impact the final appearance and durability. Proper surface preparation—such as removing cabinet doors and hardware, sanding surfaces to create a smooth foundation, and applying a quality primer—lays the groundwork for a professional-looking finish that resists chipping and wear. Choosing paint specifically formulated for cabinets or high-traffic areas helps ensure longevity, while carefully applying multiple thin coats enhances color consistency and depth. Attention to these key steps not only refreshes the look of your kitchen but can also elevate the overall home design without the need for costly replacements.
Why Paint Instead of Replace?
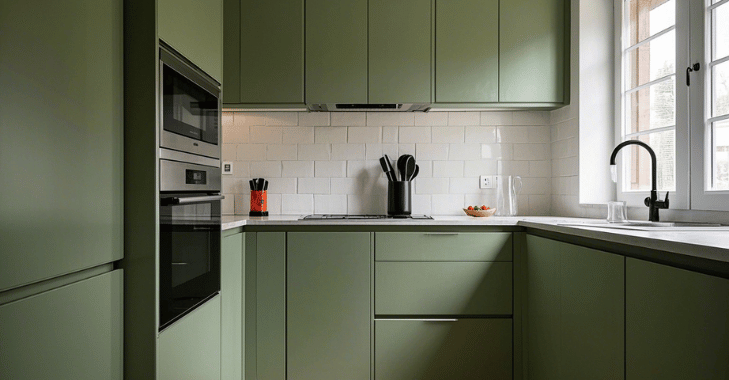
Updating kitchen cabinets can be both costly and time-intensive. On the other hand, kitchen cabinet painting allows you to reuse your existing cabinets while giving them a new look.
This approach saves money and reduces waste, making it an environmentally friendly option. Additionally, painting provides flexibility in design, enabling you to experiment with trending colors like matte black kitchen cabinets or two-tone combinations.
Understanding the Process of Kitchen Cabinet Painting
Painting kitchen cabinets involves several steps that require careful planning and execution. Whether you tackle the project yourself or hire professionals, it’s important to understand the time investment and scope of the work.
For a DIY project, expect to spend a few weekends completing the task, while professionals can often finish in a few days. Assessing your project size—small, medium, or large kitchen—will help you plan accordingly.
Painting Kitchen Cabinets Cost
Professional Services
Hiring professionals for cabinet refinishing services ensures high-quality results but comes at a cost. Here’s a general breakdown:
- Small kitchens: $1,000–$4,000
- Medium kitchens: $4,000–$7,000
- Large kitchens: $7,000–$12,000
Factors influencing costs include labor rates and material expenses. Professional painters often use specialized tools and high-quality paints like enamel for durability.
DIY Budget Breakdown
For those taking the DIY route, the expenses are considerably reduced:
- Essential materials list: $200–$600 (includes primer, paint, brushes, rollers)
- Tools investment: Sandpaper, painter’s tape, drop cloths
- Optional equipment costs: Spray guns or power sanders
By doing it yourself, you can save up to 70% compared to hiring professionals. However, keep in mind that achieving professional-level results requires time and effort.
Color Selection and Design Ideas
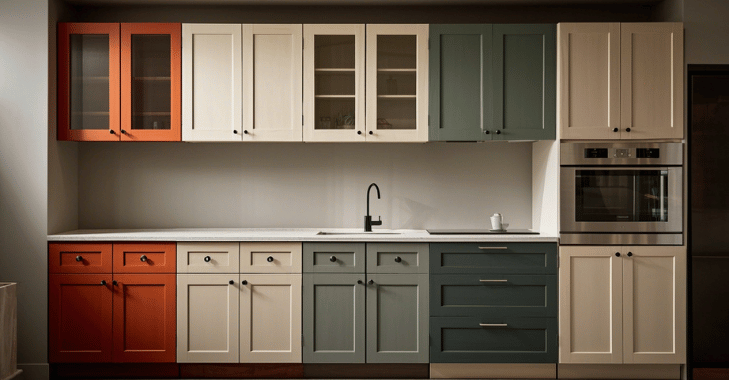
One of the most exciting aspects of cabinet painting is choosing the perfect color scheme. Here are some popular options:
White Cabinet Transformations
White remains a timeless choice for kitchens. It creates a clean and spacious feel while complementing various design styles. Keywords like white kitchen cabinet transformation are frequently searched by homeowners looking for inspiration.
Matte Black Kitchen Cabinets
Consider black cabinets with a matte finish for a bold and modern aesthetic. This trend has gained popularity for its sleek and sophisticated look.
Two-Tone Combinations
Two-tone designs: Such as white upper cabinets paired with navy or green lower cabinets—add depth and visual interest to your kitchen.
Trending Colors and Color Psychology
Earthy greens and bold blues are trending in 2024 for their calming yet vibrant appeal. Understanding color psychology in kitchen design can help you select hues that enhance mood and functionality.
Methods and Techniques For Painting Kitchen Cabinets
Traditional Painting Approaches
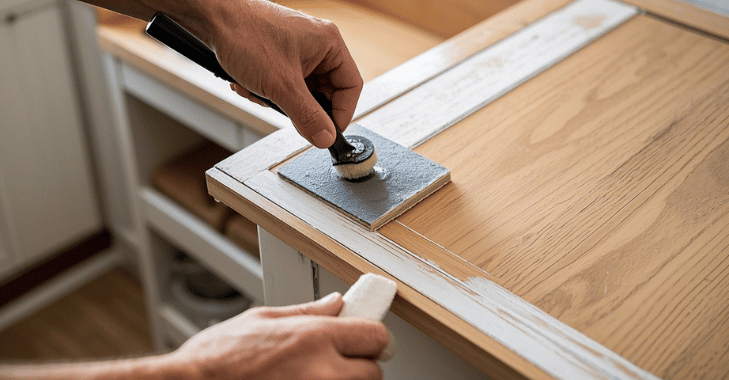
The traditional method involves using brushes and rollers for paint application.
Key steps include:
- Sanding surfaces to remove old finishes
- Applying primer for better adhesion
- Using multiple coats of paint for durability
This method works well for beginners but requires patience.
Alternative Methods
For faster results:
- Try no-sand techniques using deglossers.
- Use spray painting methods for an ultra-smooth finish.
- Opt for specialized products like chalk paint or enamel designed specifically for cabinets.
These approaches can save time while delivering professional-looking results.
How to Paint Kitchen Cabinets?
Preparation Phase
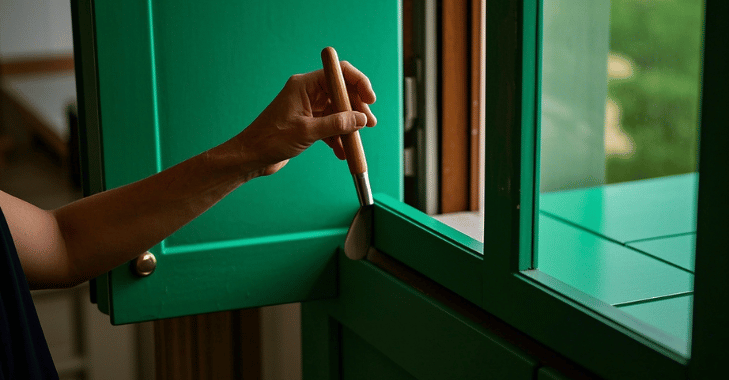
- Remove cabinet doors and hardware.
- Clean surfaces thoroughly with degreasers.
- Sand or degloss surfaces as needed.
- Set up a workspace with drop cloths to minimize mess.
- Gather all necessary materials before starting.
Steps to Paint
- Clean and degrease all surfaces.
- Apply primer evenly across all areas.
- Use smooth strokes when applying paint with brushes or rollers.
- Reinstall the hardware once the paint has dried completely.
Following these steps ensures long-lasting results.
Maintenance and Care
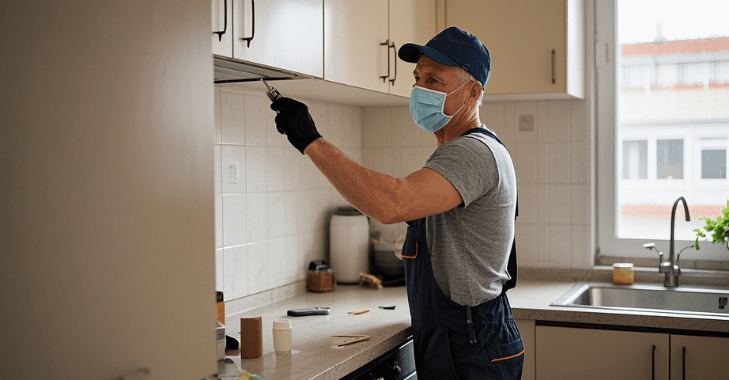
After completing your cabinet transformation, proper care is crucial to maintain their appearance:
- Cleaning Guidelines
Opt for gentle cleaners to protect the paint finish. Avoid abrasive scrubbing tools that can scratch surfaces.
- Touch-Up Procedures
Keep extra paint on hand for quick fixes if chips or scratches occur over time.
- Long-Term Maintenance Tips
Protect painted cabinets by avoiding excessive moisture exposure and using soft-close hardware to reduce wear and tear.
Avoiding Common Mistakes
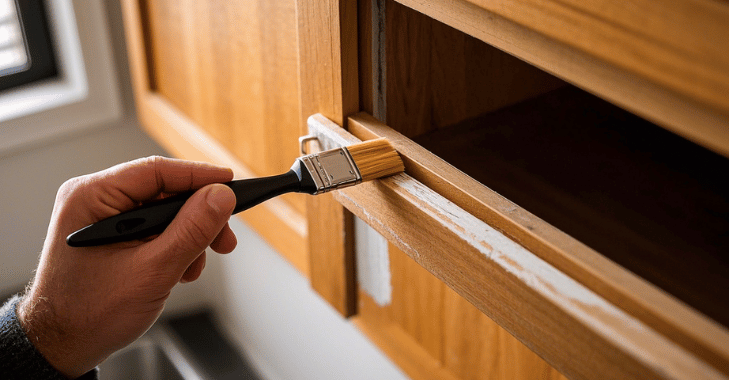
Skipping primer or applying uneven coats are common errors that can compromise results. Take your time during each step to avoid these pitfalls.
Expert Techniques
Professionals recommend sanding between coats for smoother finishes and using high-quality brushes or sprayers for even application.
Troubleshooting Guide
If issues like peeling paint or streaks occur, lightly sand affected areas and reapply paint as needed.
Knowing When to Call Professionals
If your project involves intricate designs or extensive damage repair, it may be best to hire experts specializing in cabinet refinishing services.
Conclusion
Painting kitchen cabinets is an accessible yet transformative way to upgrade your space without breaking the bank. By understanding the process, exploring trending colors like bold blues or earthy greens, and following proper techniques, you can achieve stunning results that last for years to come!
Whether you choose DIY or professional services, this guide equips you with everything needed for success in your next kitchen makeover project!
Apart from that if you want to know about “An Ikea Kitchen Pantry: Exploring the Diverse Styles and Everything you need to know” then please visit our “Home Improvement” Category.
FAQs
For the best results, opt for semi-gloss, gloss, or satin finishes. These paints provide durability and are easy to clean, making them ideal for kitchen cabinets.
No, it’s essential to start with an oil-based primer. After the primer has dried, you can apply latex paint for a smooth, long-lasting finish.
With proper preparation and quality paint, painted cabinets can last for many years with minimal maintenance.
Paints designed for cabinets or high-traffic surfaces work best because they provide better durability and a smoother finish.
Drying time depends on the paint used, but allowing adequate time between coats helps prevent streaks and peeling.